the opinions of this post are purely mine and are not to be confused with what may be said to be the only proper way to stretch stitching projects. It has been passed on down to me and it works and it is super simple to do, however I know there are other methods of doing this and I acknowledge that fact and admire others for doing it the way they are comfortable.
This works so well for me that I will always do it as follows
stitched project ready for a frame

be basted around all edges.
Either hand or machine stitching is fine.


as in the photo on the front of the kit... Go figure
so now we need to add fabric to allow for turnover.
Typically I cut 3-4" strips of a very tightly woven fabric
(so it will not pull when thread is tightened.)
hold the stitched piece face up on top of the extension
and zigzag together, with a 1/4" overlap (as per black line below)


Now, with file clips I simply attach the "mock matt"
to the correct position thus keeping the work in proper position


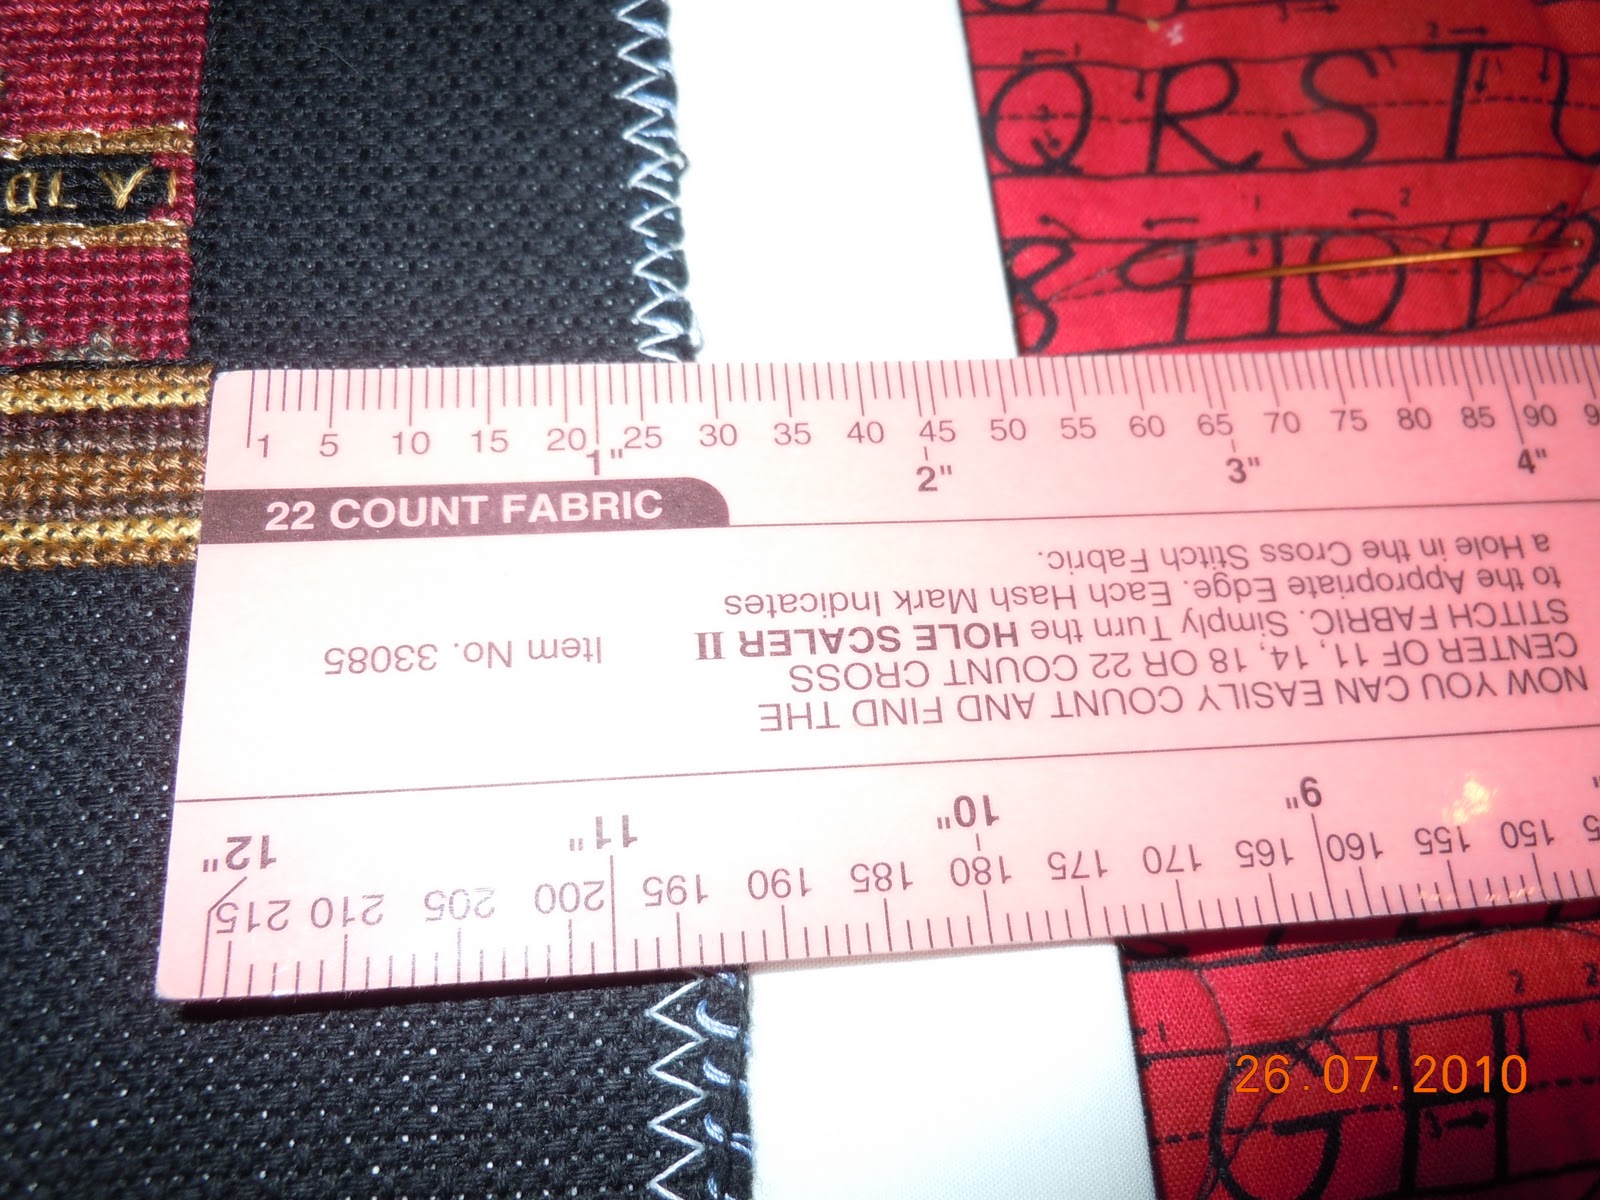
the ruler is to ensure the same amount is all the way around the piece once on board,
the thread is one of the most important factors
as it is extremely important that it will not break while pulling it tightly.
Tent or Upholstery thread works well
and the pop bottle ensures that the long pull does not tangle
with anything along the way.
(it is a good point to have a thread which will not knot or fray)
Flip project over

In upper right corner pull your thread through and come straight down
take a 1/2" stitch across
(I use the width of my pointer finger for a gauge and it will come naturally how far apart
and how far from the edges of the extensions)


flip work over to ensure that it has maintained positioning
then pull like the dickens...lol
Threads must be very tight.


but it is easier to check prior to tying off and cutting.
This next step is an important one, especially if there will be matts.

Now your piece is ready to put into the appropriate frame
and you can pat yourself on the back
for knowing that you did it.

((When the need for blocking arises generally for solid stitched projects,
I simply dampen the piece, unless it is one of my own
to which I would do this right after washing it

I put push pins in, 2 @ each corner 1" from the corner at top and sides and bottom
and wrap a long brightly coloured thread
around all 8 looping it around as in pic,
so's to make sure the lines all falling into a straight line,
then use push pins to pin the piece face down on a towel
every 1/2" while pulling taut and keeping square,
This is all pinned to a 3/4" tight cork board which is of a larger size.))
this one I pinned on face up but generally to be done face down
to prevent any accidental dust/dirt/fingerprints)

before I walk away I remove pins which were used
to ensure that work was blocked on the square
Then you wait until project is completely dry and remove from board.
ta da,,, you have a nicely blocked piece ready for lacing.
I really hope this is of some use for you and if you have any further questions feel free to just ask and I will do my best to answer you. Feel free to comment and let me know what you think and to do so, you will just have to go back to the original post. Thank you because if one person learns something here my day is complete.
~ As always ~ xxxxx Jayne xxxxx
~ keep An eye for threads
& Be Always in Stitches ~